
Wat is PeerBlock ?
PeerBlock blokkeert bekende, slechte IP-adressen die toegang zoeken tot Uw computer. Afhankelijk van de lijsten die U hebt ingevoerd.
Die slechte IP-adressen kunnen bedrijven zijn bijvoorbeeld regeringsoverheden etc. etc. die het P2P verkeer willen beïnvloeden als U bestanden deelt met WinMX.
PeerBlock beschermt U tegen deze "aanvallers".
De volgende handleiding laat U zien hoe U Peerblock goed instelt voor gebruik van WinMX met de goede lijsten.
Download PeerBlock v1.2 PeerBlock v1.2 for Windows 2000, XP, Vista en Windows 7 (Alle versies).
Voor de website van Peerblock klik hier
Als U PeerGuardian2 nu gebruikt moet U deze wel eerst verwijderen voordat U begint met installeren van PeerBlock
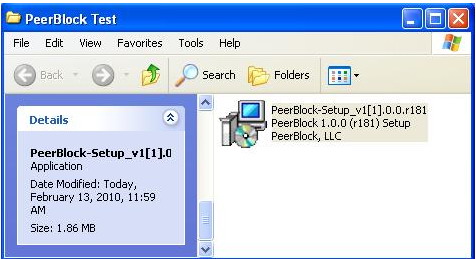
Stap 1) Installeren van PeerBlock
Na het downloaden van Peerblock: voor Windows XP dubbelklik op Setup
voor Windows Vista of 7 rechtsklik op Setup en kies "uitvoeren als admin"
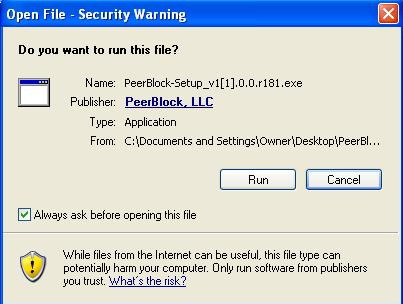
Stap 2) Do you want to "RUN" this file ?
Klik op "run"
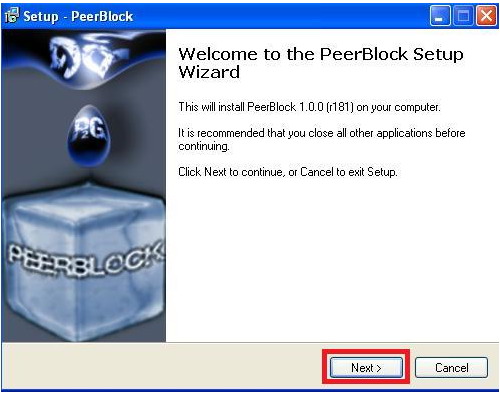
Stap 3) Welcome to the Peerblock Setup wizard
Klik "Next"
Stap 4) License Agreement
Zet de stip bij: "I accept the agreement " en klik dan op "Next"

Stap 5) Information
Klik op "Next"

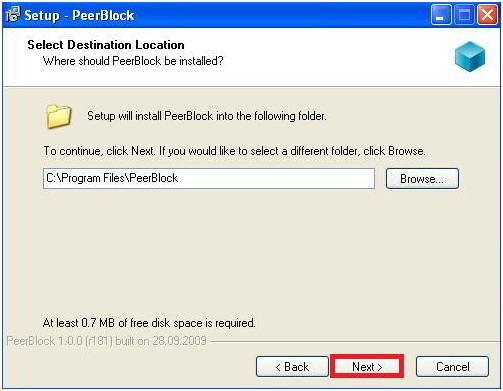
Stap 6) Select Destination Location
Standaard zal Peerblock worden geïnstalleerd in C:/Program Files/Peerblock
Als U dit anders wilt kunt U d.m.v. de "browse" knop de locatie wijzigen.
Klik nu weer op "Next"
Stap 7) Select Start Menu Folder
Klik op "Next"

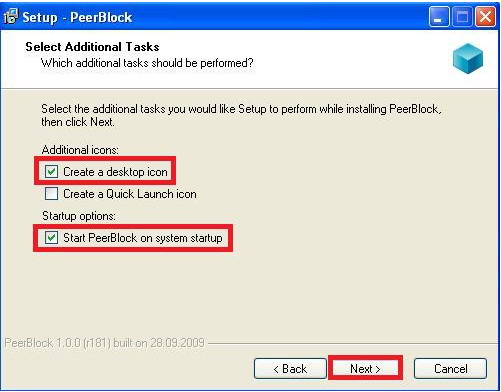
Stap 8) Select Additional Tasks
De optie "Create a desktop icon" mag U zelf weten wat ermee te doen, die optie maakt een icoon aan op Uw bureaublad.
De optie "Start Peerblock on system startup" wél aanvinken zodat U zeker weet, dat deze altijd aanstaat na opstarten van de computer
Klik op "Next"
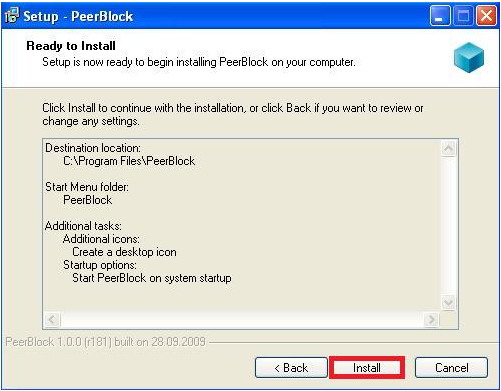
Stap 9) Ready to Install
Klik op "Install"
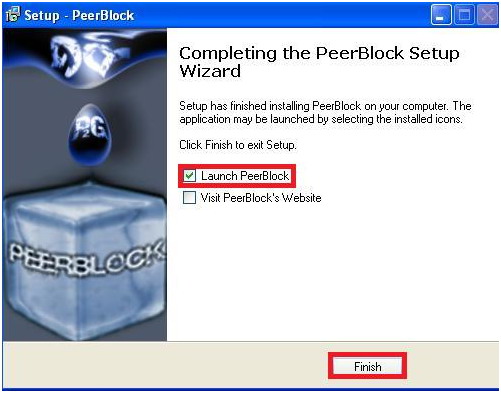
Stap 10) Completing the Peerblock Setup Wizard
Vinkje bij "Launch Peerblock"
Klik op "Finish"
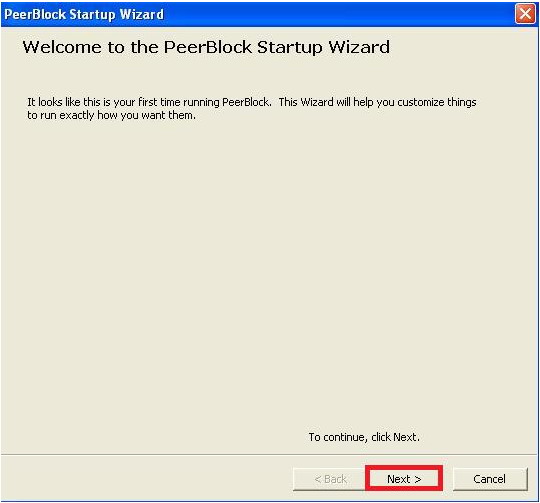
Stap 11) Welcome to the Peerblock Startup Wizard
Klik op "Next"
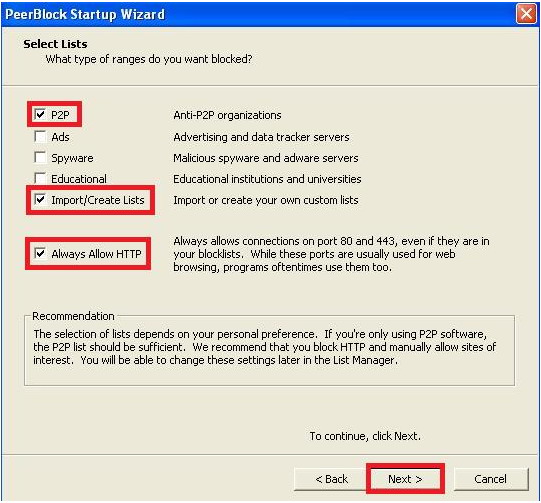
Stap 12) Select Lists
Aanbevolen word om vinkjes te zetten bij de volgende opties:
1) -- P2P Anti p2p organizations (blokkeert bekende anti p2p organisaties)
2) -- Import/Create Lists (Importeer bestaande of zelfgemaakte blok/allow lijst(en)
3) -- Always Allow HTTP (staat wel toe dat je de geblokkeerde websites van geblokkeerde kan bezoeken)
Nadat de drie opties zijn aangevinkt klik dan op "Next"
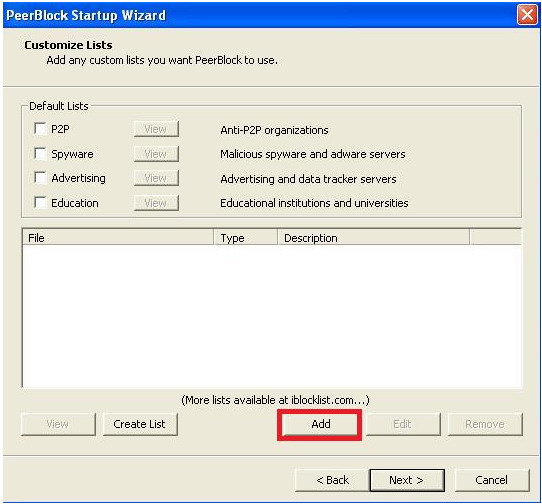
Stap 13) Customize Lists
Klik op "Add"
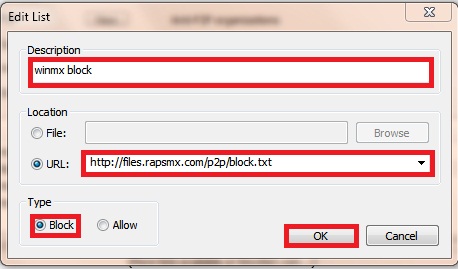
Stap 14) Add lists
Tik bij "Discription" in de balk: WinMX-block
Zet bij "location" een punt bij: Add URL
Tik bij "Location" de volgende URL in nadat je de oude hebt verwijderd:
http://files.rapsmx.com/p2p/block.txt
Zet bij "Type" een punt bij: Block
Klik op "OK"
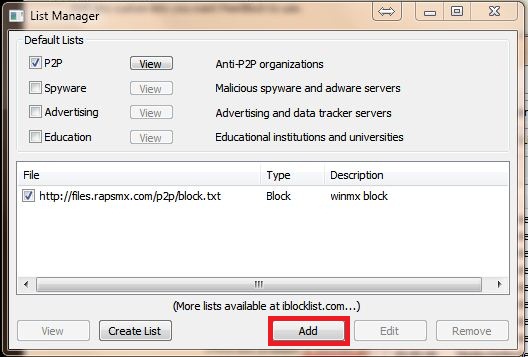
Stap 15) Customize lists
Nu zie je de toegevoegde blockregel toegevoegd in PeerBlock
Klik weer op "Add" om de Allowlijst toe te voegen
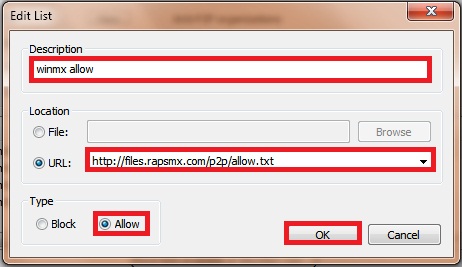
Stap 16) Add lists
Tik bij "Discription" in de balk: WinMX-allow
Zet bij "location"een punt bij: Add URL
Tik bij "Location" de volgende URL in nadat je de oude hebt verwijderd:
http://files.rapsmx.com/p2p/allow.txt
Zet bij "Type"een punt bij: Allow
Klik op "OK"
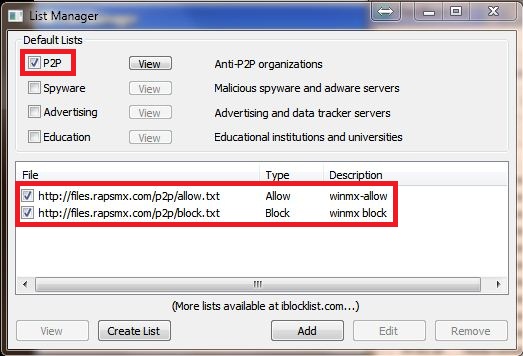
Stap 17) Customize lists
Als ook deze regel te zien is in PeerBlock (controleer dit goed)
dan ook even de volgende puntje controleren:
~Vinkje voor P2P
~Vinkje voor de allow lijst
~Vinkje voor de block lijst
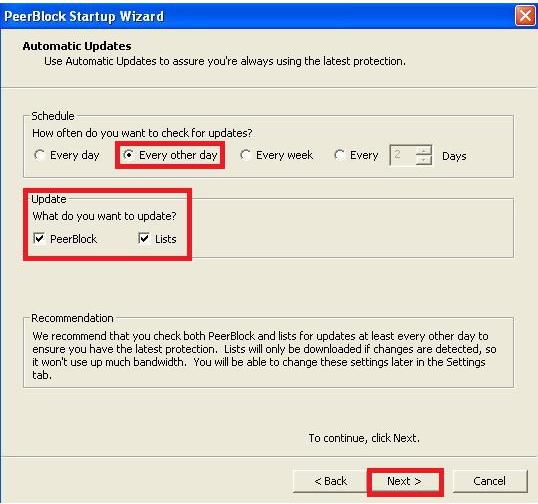
Stap 18) Automatic Updates
Schedule/How often do you want to check for updates ?
1) -- Zet een punt bij: "Every other day" maar mag ook bij "Every 1 Days"
What do you want to update?
2) -- Zet een vinkje bij: "Peerblock" en een vinkje bij "Lists"
Klik op "Next"
Stap 19) Completing de Peerblock Startup Wizard
Klik op "Finish"

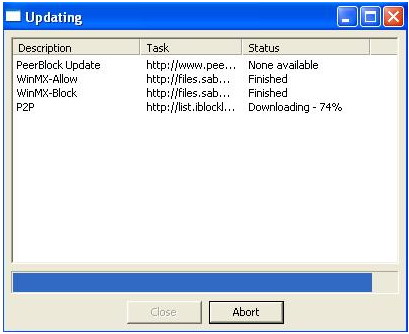
Stap 20) Updating
Peerblock zal nu de lijsten die U hebt ingevoerd voor de eerste keer inlezen (downloaden)
Na het inlezen kunt U op "Close" drukken. En anders zal hetzelf afsluiten na ongeveer 10 seconden.
Stap 21) Generating list cache
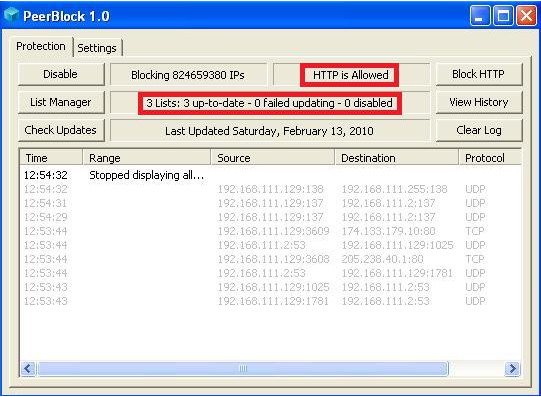
Stap 22) PeerBlock v1.2
Zo zou het er nu uit moeten zien....
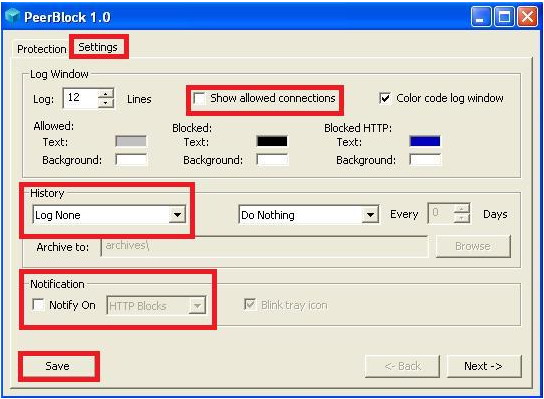
Stap 23) Settings
Voor de goede werking gaan we nog wat instellingen aanpassen.
Klik op de knop "Settings" boven in het Peerblock venster
Zet bij "Show allow connections" géén vinkje
Vul bij "History" in: Log None
Haal bij "Notification" het vinkje weg bij "Notify On"
Als U op "Next" klikt dan zijn er nog wat persoonlijke instellingen te doen naar eigen inzicht
Anders klikt U op "Save"
Stap 24) Klaar voor gebruik

Dat was het ...........
Mochten er nog vragen zijn dan kunt U naar de Nederlandse hulproom komen op WinMX
(kopieer de volgende link naar de filterbalk in WinMX en druk op Join):
MXPie Het Nederlandse hulp kanaal_725795552BE2